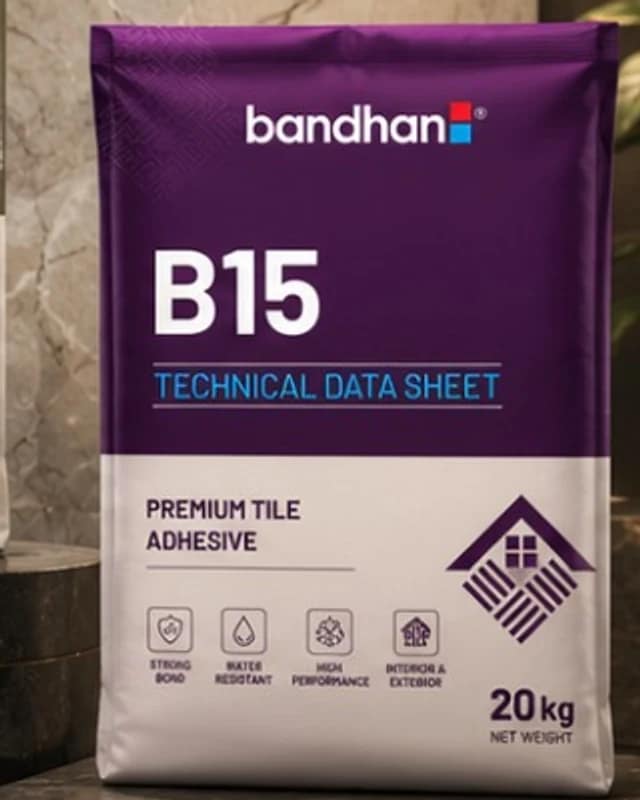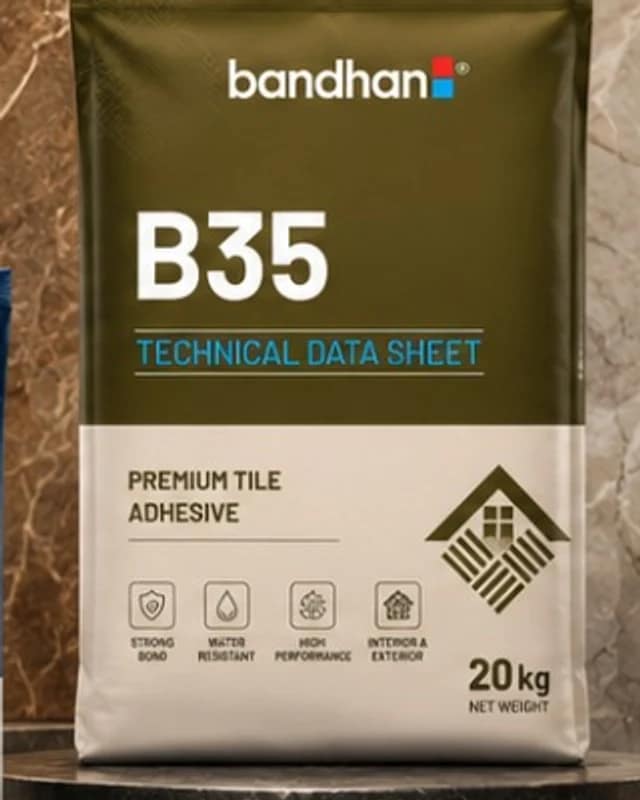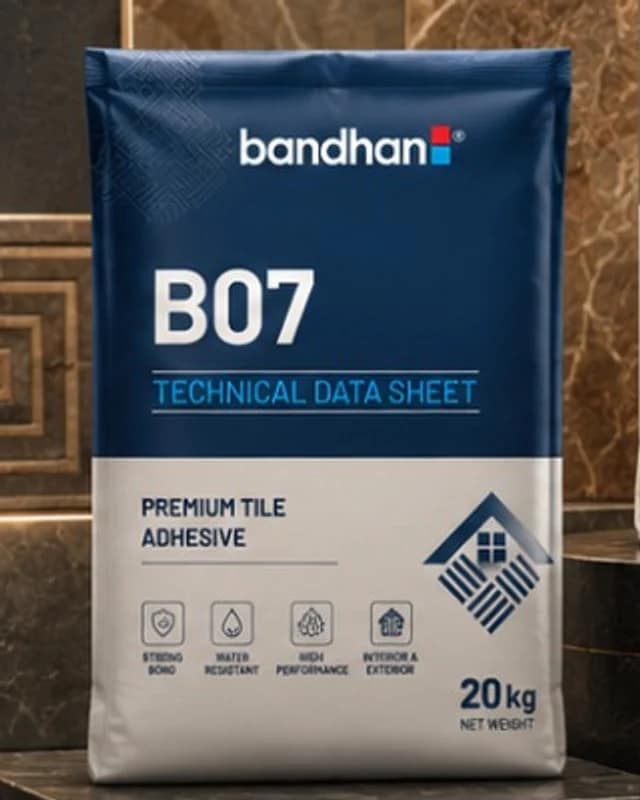
Bandhan B07
20 kg
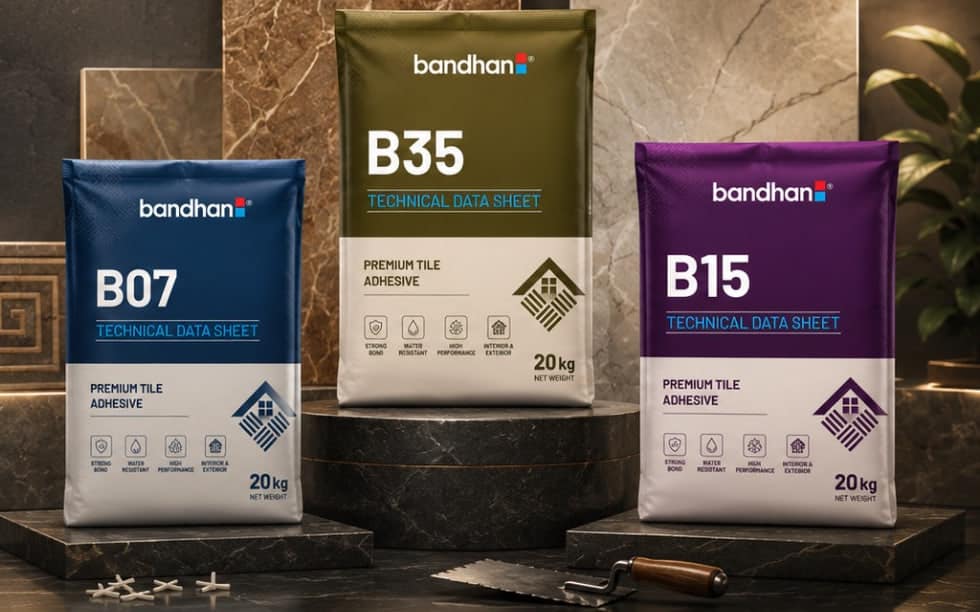
Collection 06
Polymer-modified tile adhesives across the C1 and C2 classes — the bed that decides whether a ₹120-a-square-foot tile is still bonded in ten years, or hollow underfoot in three.
Featured
The full range
The showroom floor is a fraction of the range. Browse every series, size and finish in the full adhesives catalogue library.
Buying guide
Adhesive is bought last and blamed first. Five decisions cover almost every failure we are asked to diagnose.
Adhesive is specified by the pair, not by the tile alone. A ceramic wall tile on fresh plaster and a 600×1200 mm vitrified tile on an old floor are two entirely different jobs. Write down the tile type, the tile size, what you are fixing onto — plaster, concrete screed, existing tile, waterproofed bathroom floor — and whether the area is wet or exterior. Those four facts determine the grade.
Under IS 15477 and EN 12004, C1 is a standard cementitious adhesive with a bond strength of at least 0.5 N/mm², suitable for interior ceramic tiles on walls and small floor formats. C2 is high-bond at 1.0 N/mm² or better and is what vitrified, large-format and exterior tiling requires. The suffixes matter too: T means slip-resistant so wall tiles do not sag, E means extended open time, and S1 means the cured bed stays flexible — essential over concrete slabs, on façades and in wet areas.
The notch size sets the bed thickness. Use a 6 mm square notch for small wall tiles, 10 mm for 600×600 mm floors and 12 mm for large formats. Above 600×600 mm, comb the floor and also skim the back of the tile — back-buttering — so you reach full contact. Anything below about 90% coverage under a floor tile is a hollow spot waiting to crack, and the corners fail first.
Mix only what you can lay. Comb out no more than you can tile within roughly 20 minutes, and press each tile home while the ridges are still wet — if a skin has formed and the adhesive no longer transfers to the tile back, rake it off and re-comb. Never re-temper a stiffening mix with extra water: it will look workable and lose most of its strength. Leave the floor 24 hours before grouting and about seven days before heavy traffic.
A 20 kg bag of C2 adhesive covers roughly 40–50 sq ft at a 4 mm bed. Large-format tiles, back-buttering and an uneven substrate all eat into that — budget closer to 35 sq ft per bag for 600×1200 mm. Bring your floor area and tile size to any Bandhan showroom, or use the tile calculator, and we will give you the bag count with the tile and grout quantities in the same quote.
Compare
The four jobs that cover most tiling work, and what each one needs on the bag and on the trowel.
| Specification | Ceramic wall tile | Vitrified floor tile | Large format 600×1200+ | Tile-on-tile / exterior |
|---|---|---|---|---|
| Minimum class | C1 T | C2 | C2 TE | C2 TE S1 |
| Notch trowel | 6 mm | 10 mm | 12 mm + back-butter | 10–12 mm + back-butter |
| Bed thickness | 3–4 mm | 4–6 mm | 6–10 mm | 5–10 mm |
| Coverage per 20 kg | About 55–65 sq ft | About 40–50 sq ft | About 30–35 sq ft | About 35–40 sq ft |
| Substrate prep | Plaster cured & dust-free | Screed level within 3 mm / 2 m | Screed level within 3 mm / 2 m | Roughen or prime the old surface |
| Grout after | 24 hours | 24 hours | 24 hours | 24–48 hours |
Classes follow IS 15477 / EN 12004. Coverage is nominal at the stated notch and drops on uneven substrates — always confirm against the bag.
Straight answers to what buyers ask us most about adhesives.
The number is the bond strength. A C1 adhesive achieves at least 0.5 N/mm² and is intended for interior ceramic tiles on walls and small floor formats. A C2 adhesive achieves at least 1.0 N/mm² — double the pull-off strength — and is the minimum for vitrified tiles, large formats, exteriors and wet areas. Using C1 where C2 is specified is the most common cause of tiles debonding a few years after they were laid.
They are additional performance characteristics under EN 12004. T means slip resistance — the tile stays put on a wall instead of sliding down while the bed sets. E means extended open time, which gives you longer to place tiles before the adhesive skins over. S1 means the cured adhesive is deformable, so it absorbs slight substrate movement; it is what you want over concrete slabs, on cladding, on terraces and under underfloor heating.
A 20 kg bag of C2 adhesive covers roughly 40–50 sq ft of floor at a 4 mm bed with a 10 mm notch trowel. Large-format tiles need a thicker bed and back-buttering, so budget nearer 35 sq ft per bag for 600×1200 mm. Wall tiles at a 6 mm notch go further, around 55–65 sq ft. Uneven substrates consume noticeably more than any of these figures — level the floor first and you will use less adhesive than you save on screed.
No. Vitrified tiles absorb under 0.5% water, so a sand-cement bed has nothing to key into and cannot form a chemical bond. The floor develops hollow patches and starts lifting within a few years, usually at the corners first. Use a C2-class polymer-modified adhesive, which bonds chemically rather than relying on the tile absorbing water from the mix.
Yes, provided the existing tiles are firmly bonded — tap across the floor and listen for hollow sounds, and replace anything that rings loose. Clean off grease and wax, then either mechanically roughen the glaze or apply a bonding primer, and fix with a C2 TE S1 adhesive. Tile-on-tile raises the floor by roughly 15–20 mm, so check door clearances and threshold levels before you start.
Leave 24 hours before grouting a normal interior floor, and do not walk on it during that time. Give it 24 to 48 hours in wet areas, on exteriors and for tile-on-tile work. Full strength develops over about seven days — keep heavy furniture, trolleys and site traffic off the floor until then. Grouting early traps moisture under the tile and is a common cause of efflorescence in the joints.
A hollow sound means voids under the tile — the adhesive did not achieve full contact. It happens when the bed skinned over before the tile was placed, when the trowel notch was too small for the tile size, when large tiles were not back-buttered, or when tiles were spot-fixed on five dabs instead of a combed bed. Hollow tiles crack under point loads and lift at the corners; the fix is to lift and re-lay, so it is worth insisting on full-bed fixing at the start.